 The idea for this challenge is to design and build an NXT-based remote control that you will use to steer an NXT-based robot vehicle through an obstacle course or maze as fast as you can, using NXT-NXT Bluetooth.
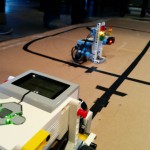
An obstacle course or maze is required for this challenge. For example, this could be two lines of electrical tape about three metres apart with lots of NXT tubs scattered in between.
Robot design
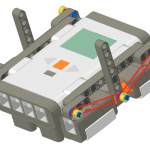
The interesting part of this challenge is in designing a remote control that is easy to use and is able to control the robot vehicle effectively.
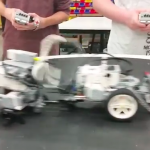
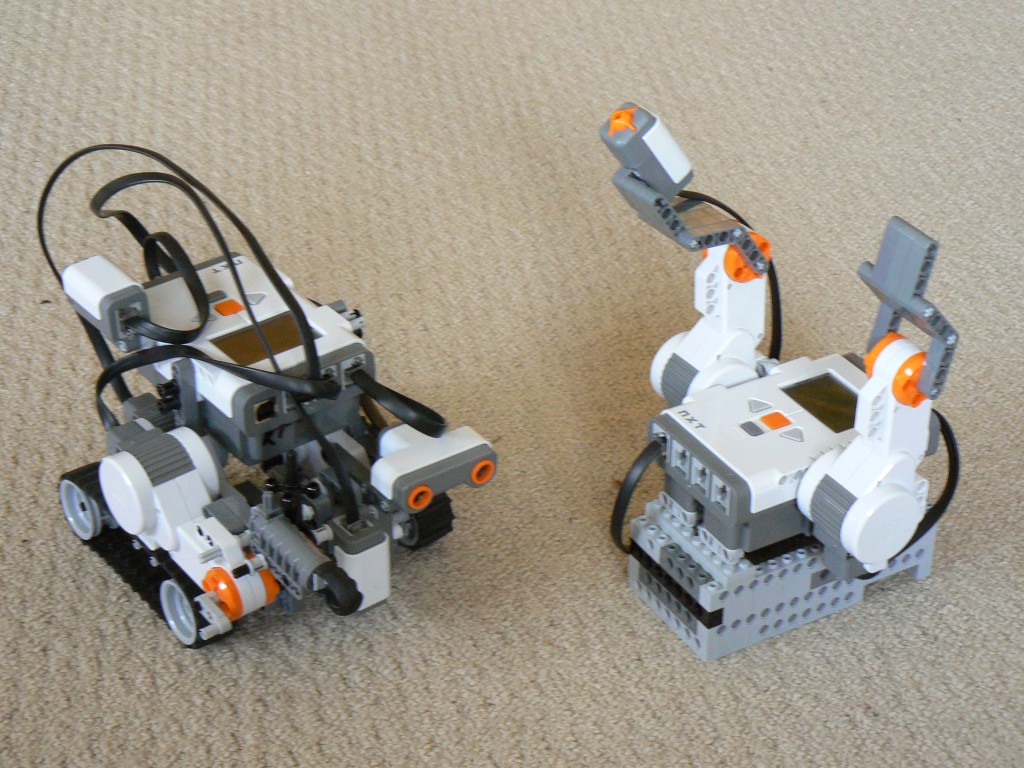
Nearly any vehicle will suffice, e.g. the TassieBot would be fine. Whatever vehicle you decide to use, don’t spend long getting it ready.
Program
To communicate by Bluetooth, the NXTs need to be “paired”. One NXT brick will be the “master” (or “host”) and can link with up to three “slave” (or “client”) NXT bricks. It helps if each NXT brick in the room has a unique name. Chris Bracken’s “Educate NXT” has a good chapter dealing with NXT-NXT BT communications.
One approach
A very simple approach is to use the Left and Right NXT Buttons on the remote control to make the Left and Right motors go forward respectively. For example…
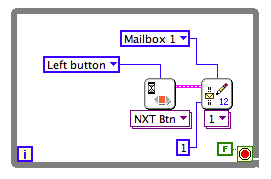 Master – Wait until the Left button is pressed on the NXT and then send a message to mailbox 1 on the slave (on connection #1). The message in this case happens to be the number “1”, but any message will do.
If you want to send a message when the Right button is pressed, it would be best to have it in a separate loop and use a different mailbox. You will be connecting to the same NXT brick so keep it set to connection #1.
 Slave – Wait until a message has been received (note that this is a Wait block set to “Wait for Bluetooth message” – it’s not the Mail block) and then move forward for one second.
Notice that we don’t do anything with the message – that’s why I said any message will do.
Also, notice that we’re waiting for a message to come in on mailbox 1. We could set this to be the left motor only. We could then have another, separate loop, waiting for mailbox 2 to receive a message before moving the right motor.
Another approach
A more sophisticated approach is to use rotation sensors (i.e. motors) on the remote control and then set the power on each of the car’s motors to the rotation value of the corresponding motor on the remote. Here’s how to send and receive the power for one motor…
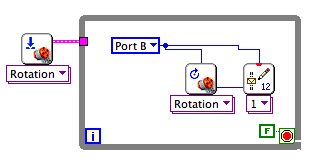 Master – Read the rotation sensor for a particular port and send it.
Note that I reset the rotation sensor before starting the loop (this probably isn’t strictly necessary here – I think the rotation sensor is reset whenever the program is started – but it might be useful to reset the rotation somewhere else in the program…)
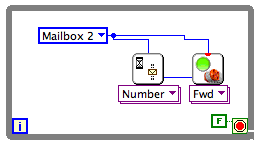 Slave – Wait until we receive a number and then use it to set the motor power.
Notice that either “Port B” or “Mailbox 2” can be used for the four different kinds of blocks used in these examples, and that they effectively mean the same thing…. Very cool!
Assessment
Your grade will be based on an average of these two criteria…
| Grade | Performance | Creativity & aesthetics |
|---|---|---|
| A+ | You make it through the fastest | Your remote is the best |
| A | You make it to the end | Outstanding and easy to use |
| B | You make it more than half way | Good |
| C | The robot is under your control at some point | Okay |
| t | Your robot wanders aimlessly | Nothing special |
| Z | You don’t turn up | Look away! |
Rob Torok
Latest posts by Rob Torok (see all)
- Obstacle Course - 26 August 2020
- Crash Test Dummy - 26 August 2020
- The Wave - 21 May 2020
- Build X - 20 May 2020
- Build a Duck - 20 May 2020