Poseidon is an underwater robot created by the Junior Convent Robotic Club (JCBOT) as part of Malaysia’s National Robotic Competition. This article is written by the team’s trainer and teacher, Mohd Zaki bin Ghazali. All photos are copyright Junior Convent Robotic Club.
We are school robotic club from SK Convent Infant Jesus 1, Melaka, Malaysia. SK means primary K-12 in some countries. Our team is a group of three students aged 10-11 years old. We also got help from some teachers and parents.
Our robot was created for the Open Category of our National Robotic Competition. This year the theme was Robot Explorers, and the mission was to “Use robots to help humans explore for natural resources in potentially hazardous environments.”
While focusing on the theme, we decided to pick an underwater geyser as it has a lot of minerals and resources based on our study and research. Thus we decided to build an underwater robot to suit the competition’s theme.
While doing some research on underwater robots, we found videos posted by other people, thus we thought it was possible for us to make one. For example:
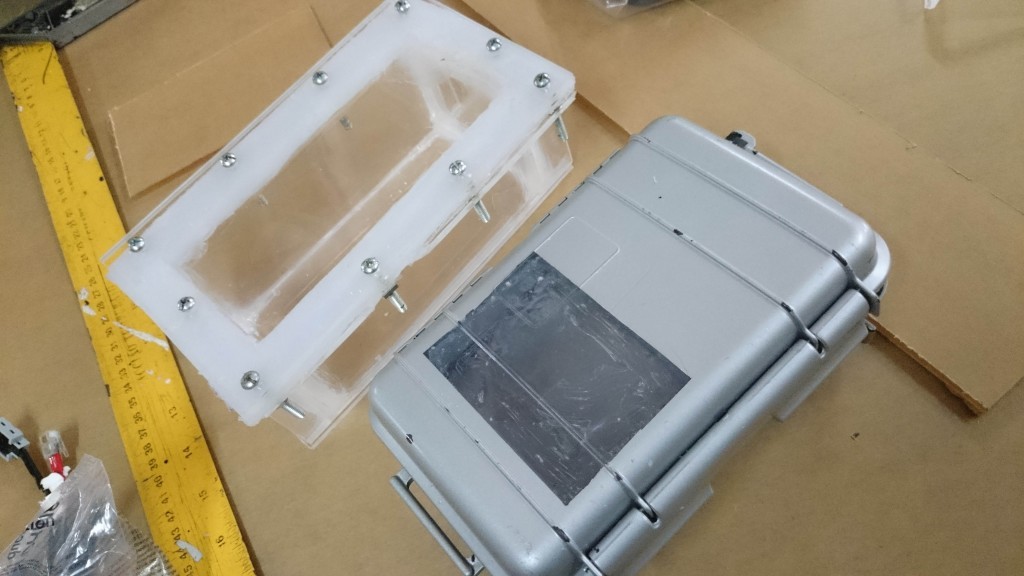
We started with the underwater casing. Because the EV3 brick is not waterproof, we needed to prepare a casing to prevent any damage to it. First we used a simple underwater case from Pelican. Over time, it seemed that water was seeping inside the casing and it was not waterproof any more. After doing some research, we built a custom case, and sealed the case with silicon. The case is solid enough to prevent any water inside.
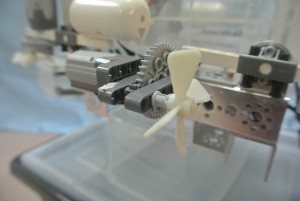
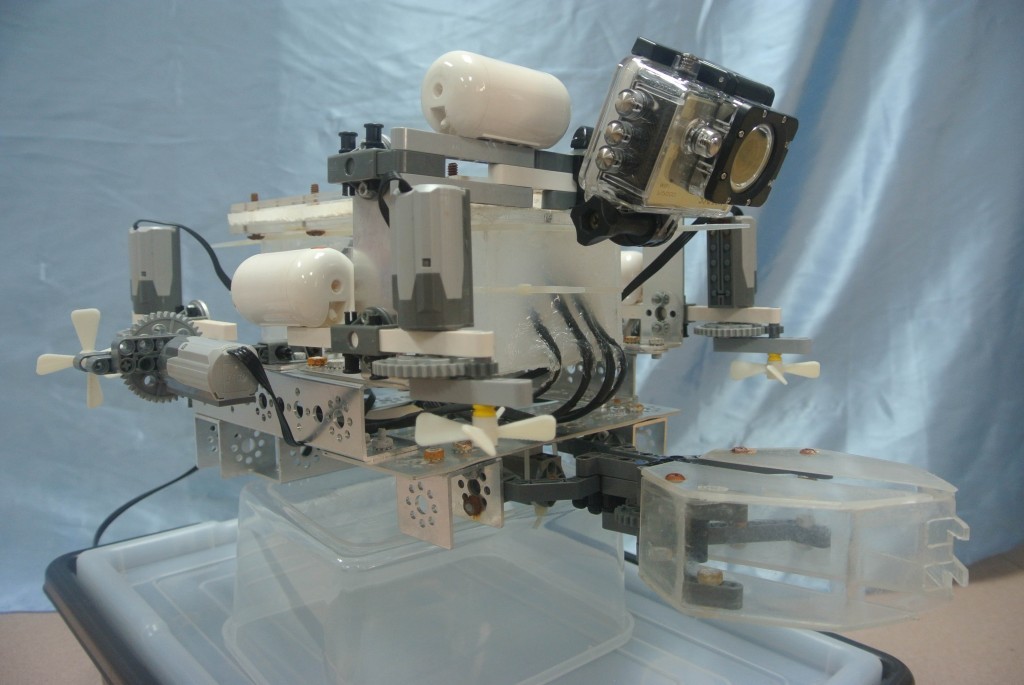
Once the EV3 brick was inside the casing, our next problem was how to control the motor. We used six Power Functions (PF) motors, with four motors for controlling the submerging and floating of the robot and the other two for forward, backward, and turn.
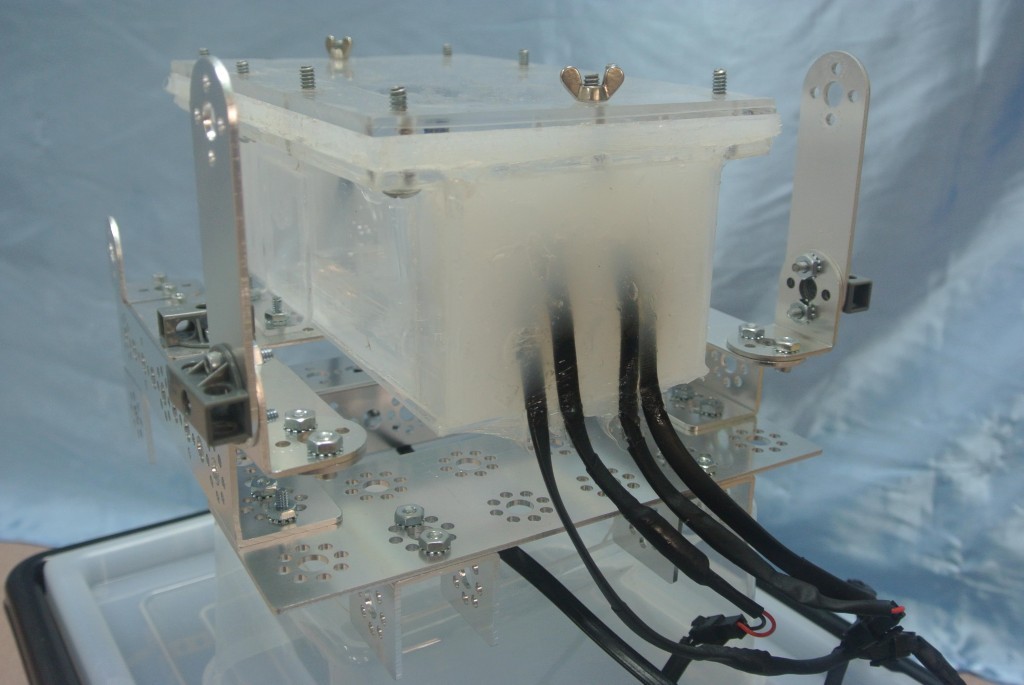
All the cables were pulled through a hole at the back of the casing. Then we sealed the hole with silicon to prevent water getting inside the casing.
Our next step was to prepare the wires to connect PF motors with the EV3 brick. From this video, we learned how to make the wire.
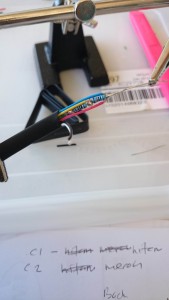
Basically we need only two wires to control the motor, whereas the normal EV3 cable has six wires inside. We needed to solder and add some resistors as shown below.
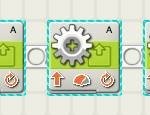
Then we needed a program to move the motors. The basic program is shown below and makes use of the Unregulated Motor block from the Advanced tab.

The first block sets the power. By adding a negative (-) sign, we can make the motor turn backward. We need to use a separate Timer block as we cannot control the time directly with an Unregulated Motor block. In this example, after waiting for 10 seconds, the motor stops and the next block will tell the motor to cut off the power and stop.
To add motors or sensor to an underwater robot, you can seal the joins in the housing with silicon like the figure below. Inside all sensors, there is circuitry that will be damaged once it touches water as water is the best conductor for electricity. While making this project, we accidentally damaged countless sensors because of poor sealant.
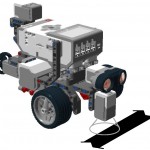
For this project we added a colour sensor to detect sample minerals. We simulated the minerals with coloured blocks. For example, yellow is for gold, red for sulphur and green for others. We couldn’t put the sensor inside the casing as the casing itself will reduce and block the sensor’s capacity to detect colour.
We also added a temperature sensor to detect a hot area at the underwater geyser. We simulated the hot temperature by pumping hot water inside our aquarium. When the robot moves near the hot area, it will display the readings on the EV3 brick.
The next challenge was how to control our robot. Since water absorbs radio signals, we couldn’t use Wi-Fi, Bluetooth, or infrared to control the robot. We tried putting the infrared sensor inside the casing but the signal couldn’t penetrate the water. Same thing goes with Bluetooth. Around the surface, the signal is fine, but as the robot submerges, the signal slowly fades and cuts off. Instead, we secured a cable from the casing to the surface and attached it with a Mindsensor PSP Mindstorms controller. The receiver was put at the top of the aquarium to receive signal from PSP controller.
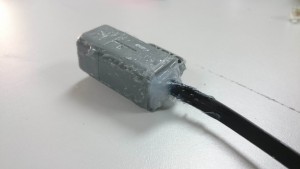
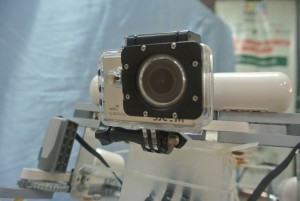
To get an inside view, we made a special cable with a connector to feed the video outside of the water. With the cable, we were able to get a live view from the robot underwater.
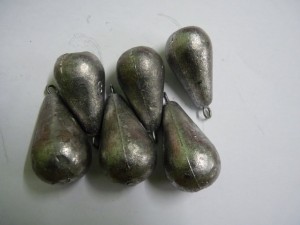
As the robot depends solely on the propeller for movement, we used weight principle to make it balance in the water. Since it is hard to find a ballast tank to communicate with EV3 motor, we decided to use fishing sinkers to make it heavier.
The weight of the sinkers is just enough to make the robot submerge and float. Using the propeller and the pneumatic air tank, the robot will float to the surface. Then with the help of the sinker and force of the propeller, it will make the robot submerge.
Mohd Zaki bin Ghazali
