Check for number of lives: Game over
We have to check for number of lives, but now, unfortunately, I see we have forgotten to add the parameter lives. No problem. We can do it now. Start the RicEditor and open the file cannon.ric:
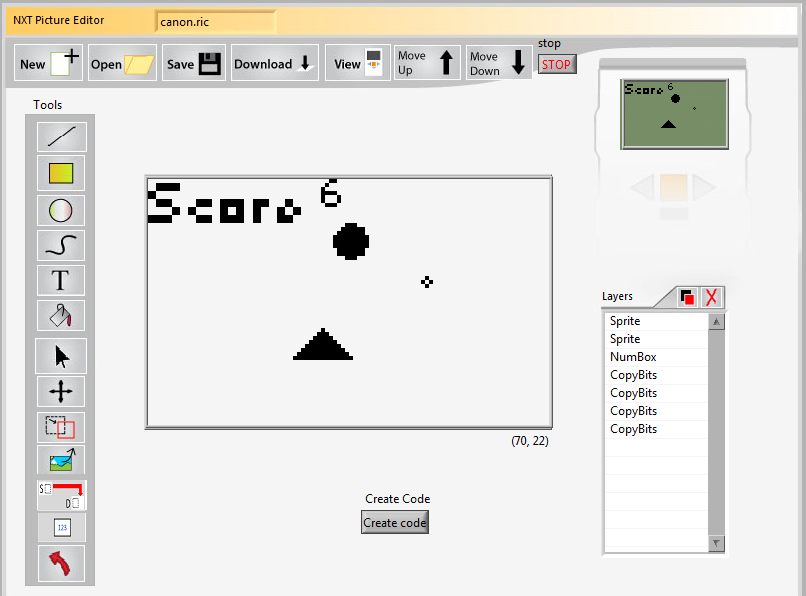
Press the text tool. This window will pop up:
![]()
Then enter the text Lives:

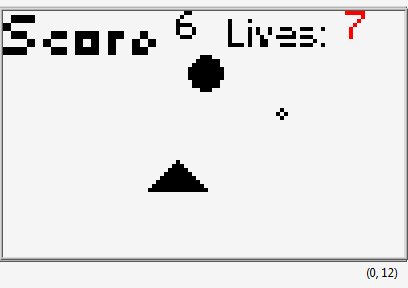
So let’s move it to the upper right corner. Make sure to have some empty space to the right of the text Lives:
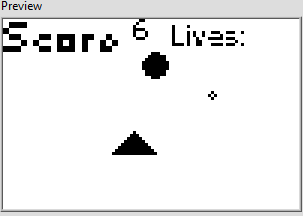
Now it looks like this:
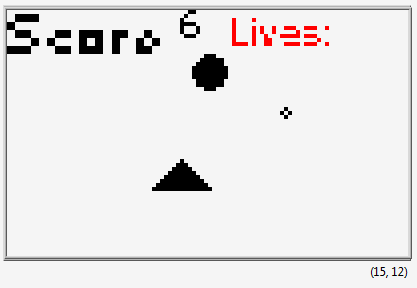
So you can press the Numbox button:
![]()
The following window will pop up:
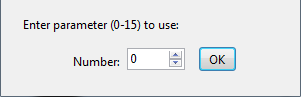
The number of this parameter is 7. Type 7 and press OK. 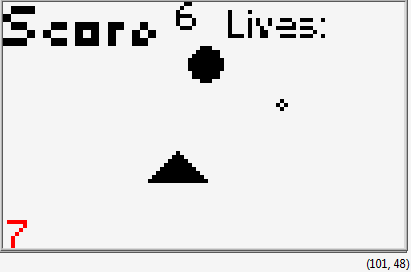
Finally move the Numbox to the upper right corner:
The file is now finished, remember to save it.
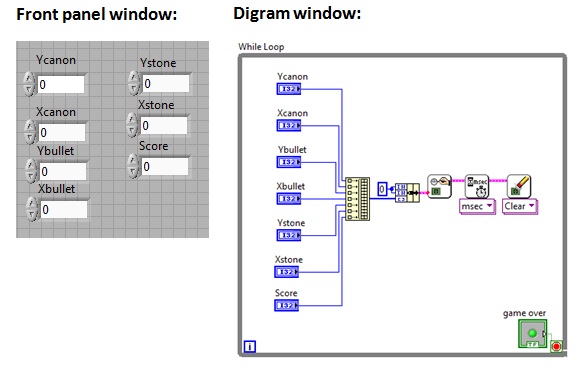
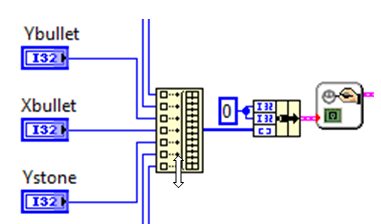
But how will our program fix this new parameter? Lets look into the start up loop once again:
 We must now add a new parameter, and this time it is easiest to add it manually. Move the mouse-pointer over the buildArray command. An arrow will appear:
Move the mouse downwards to add a new entry. if we move the mouse over the BuildArray command you’ll see the new entry as a blue dot:
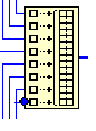
We move the mouse pointer to this point, right-click and select create control. Here is the result:

The name of the control is by default set to element. Just type the name Lives, move the control to a place beside the others, right-click the wire and select Clean up wire. if you’re lucky it looks like this:
We see this control differ from the others. It is because it is viewed as an icon. We can change this by right-clicking and hook of view as icon:
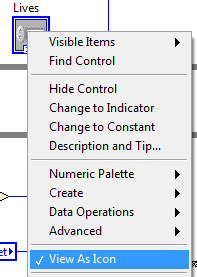
After that it looks like the others:
It is important to say that this is just a cosmetically change and won’t affect the program at all. When we create a control the value is by default set to 0. We can change this to 3 (3 lives) in the front panel. Press CTRL+E to open the front panel:
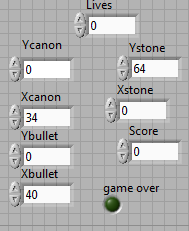
Let’s first do some simple tidying up on this front panel:.
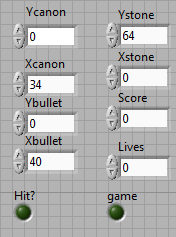
Now it looks better. But we must change the value of lives to 3 (or how many lives do you want?) Press the up arrow key three times or just type 3:

So we must make this to be the default value. Right-click the control an select Make current value default:
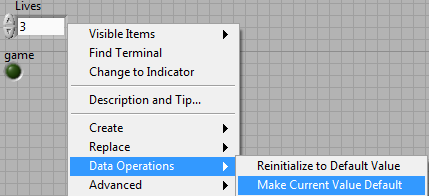
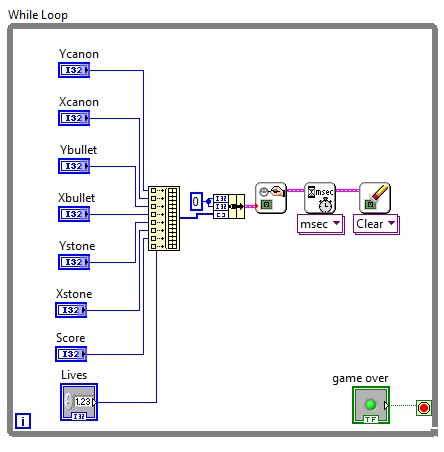
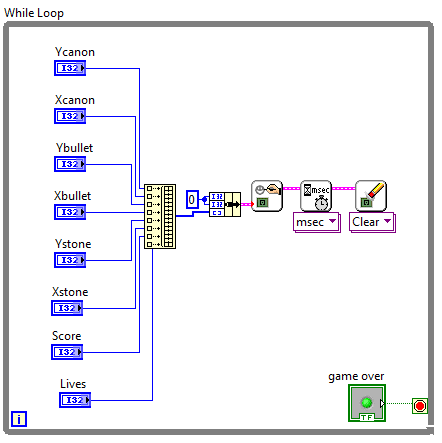
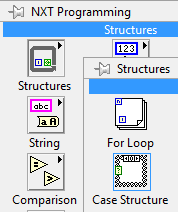
After this is done it is important to save the project (to store the new default value). So we are ready to program the game over loop. We start with inserting a WHILE Structure found in NXT Programming/Structures:

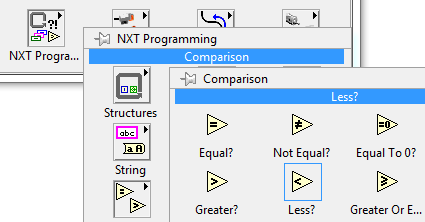
When the bullet hit the ground we will loose a life. This will happen when the Y coordinate for the stone (Ystone) is less than 5. We insert a Less? command found in NXT Programming/Comparison:
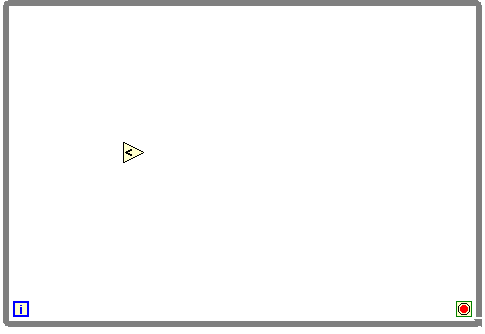
Now it looks like this:
We have to insert a local variable found at NXT Programming/structures:
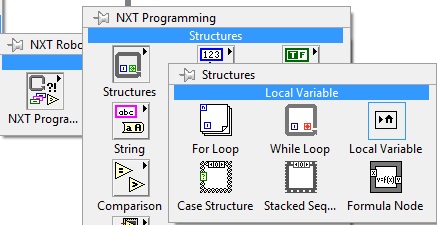
We insert a local variable:
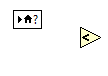 We left-click on this one and select Ystone:
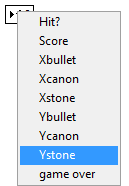
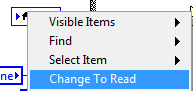
Finally we right-click and select Change To Read:

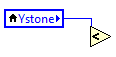
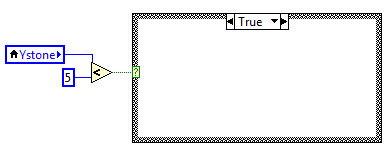
So we wire the local variable to the upper left corner of the Less? command:
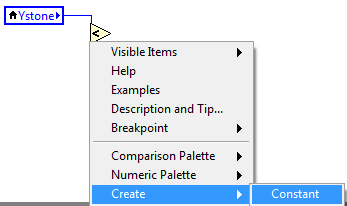
 We right-click the lower left corner and select create constant:
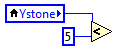
We set the value of the constant equal to 5:
The last corner of the Less? command is a boolean. We must wire this to a Case structure found in NXT Programming/Structures:
We insert this and wire it to the left corner of the Less? command:
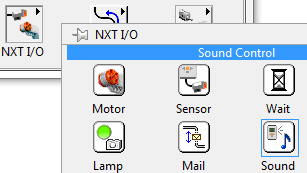
In this CASE structure there is two things we want to do. First, when the stone crashes, we want to play sound, I suggest to use the woops sound. Second we want to reduce the number of lives with one. First we insert the Sound Control command found in NXT I/O:
Inserted it looks like this:
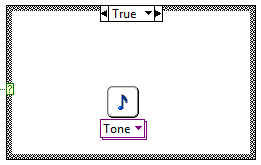
We don’t want to play a tone but a sound file. Press on the purple arrow and select Play Sound File in the drop-down menu:
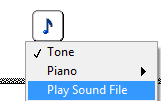
The command now change to the Play Sound File. Here is the help text for this command:
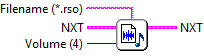
The upper middle connector is a text for the filename. We right-Click on the middle upper connector and select create constant:
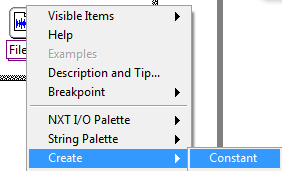
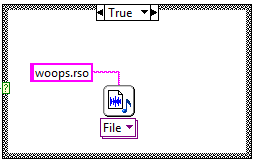
In the constant that appear we type in the filename woops.rso:
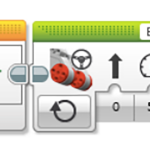
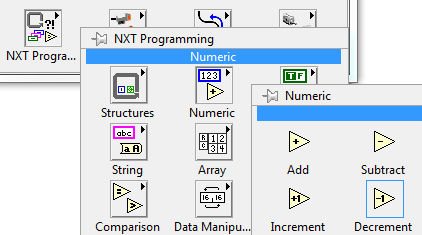
We must now fix the number of lives. This would be a kind of countdown. So we insert the command decrement found NXT Programming/Numeric:
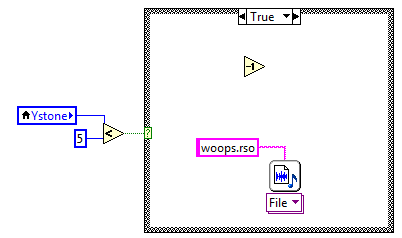
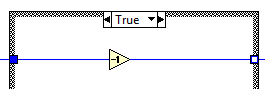
We insert this into the TRUE part of the CASE structure (I have also made the CASE structure wider to get more space):
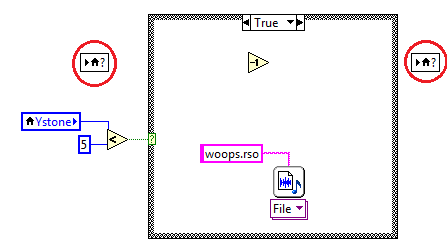
So we need two local variables to READ and WRITE to the local variable Lives. We’ll found it in NXT Programming/Structures. We add one on each side of the CASE structure:
These local variables must be configured. We left-click on the variables and select lives:
![]()
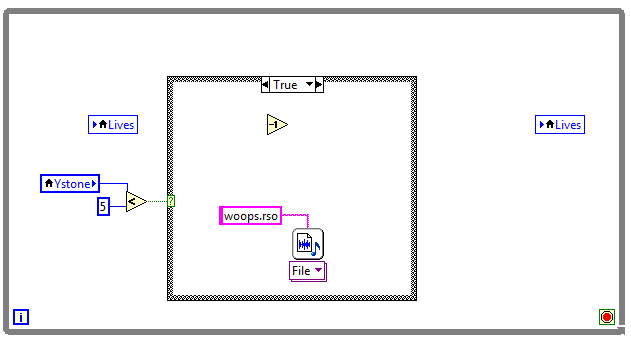
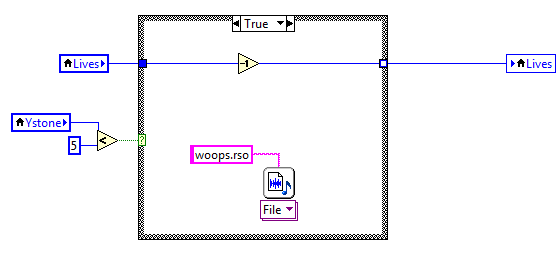
After this change your program should look like this:
By default the local variable is set to Write. The left side one must be changed to Read. We left click on the local variable and select Change To Read:
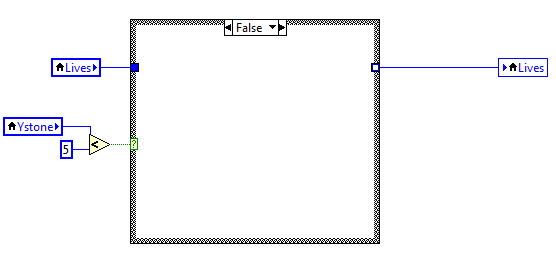
 Now your program should look like this:
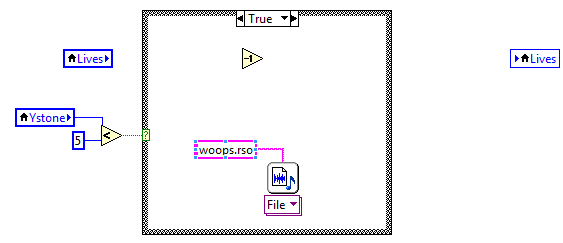
We now have to do some wiring:
After the wiring you should pay attention to the blue rectangles on the edge of the CASE structure:
These blue rectangles are in LabVIEW called tunnels. We see the one to the right is filled white and not blue as the other. This means it is not wired correct. There is a rule in LabVIEW saying: an outgoing tunnel must be wired in all the cases. We have only wired the True case and not the False case. Press on the right arrow at the top of the CASE structure:
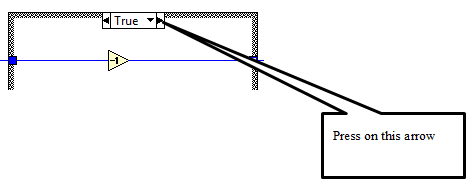
We can see that the right-hand side tunnel is not wired (the left hand side is not wired either, but for an incoming tunnel there are no rules saying it must be wired in all the cases):
To finish the wiring we just wire from tunnel to tunnel:
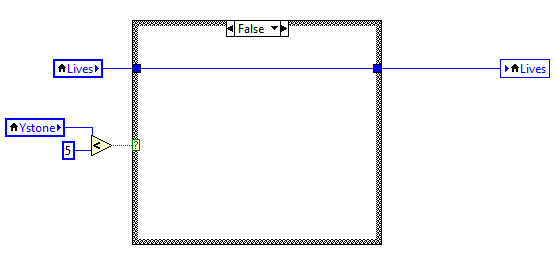
Now the left hand tunnel is also filled meaning it is correct wired. So, what happens here you might wonder. Well, if Ystone is less than 5, the number of lives (the local variable lives) is subtracted with 1. When the program start Lives equals 3. So when it becomes zero, we want the program to end by setting the local variable game over to TRUE. We add the command Equal To 0 found in NXT Programming/Comparison:

Inserted:
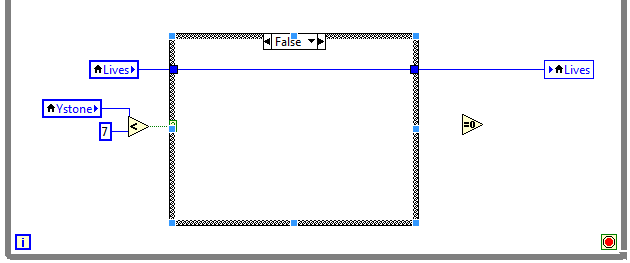
When Lives equals zero we want the local variable Game Over to become TRUE. We add local variable, left-click and select game over: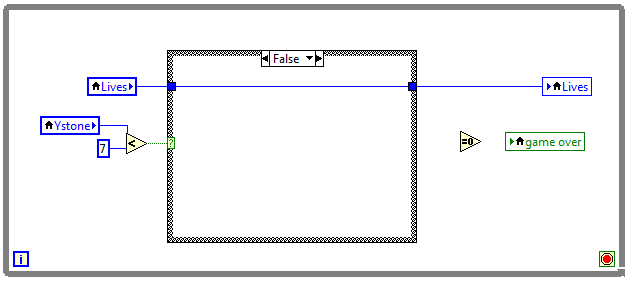
So we wire the left connector to the local variable Lives and the right connector to the local variable game over. Finally we wire the right connector to the loops conditional terminal:
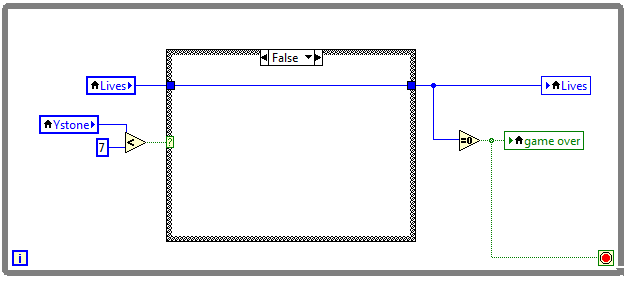
After this our game is finished.
Enjoy!!
Svein-Tore Narvestad
Latest posts by Svein-Tore Narvestad (see all)
- Create apps for NXT with MIT App Inventor - 3 August 2016
- RicEditor tutorial: Create a cannon game - 28 October 2013
- Create your own games with “RIC” files - 27 August 2013
- How to update the NXT firmware in LabVIEW - 19 August 2013
- Datalogging in LabVIEW: Timed datalogging - 2 June 2013