I teach several classes and camps for kids ages 8-14 using Mindstorms EV3/NXT. I teach small classes (about 8-12 students) with two kids, one robot, and one computer. We usually start out with the basics: robot parts, terminology, intro to the programming workspace, and basic robot movements. From there I start them on a series of maze-based challenges.
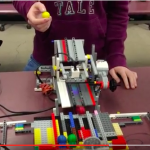
I have had several different mazes over the years, there are two that work the best for me and my students. Version 1 is made with foam core, duct tape, and decorations:
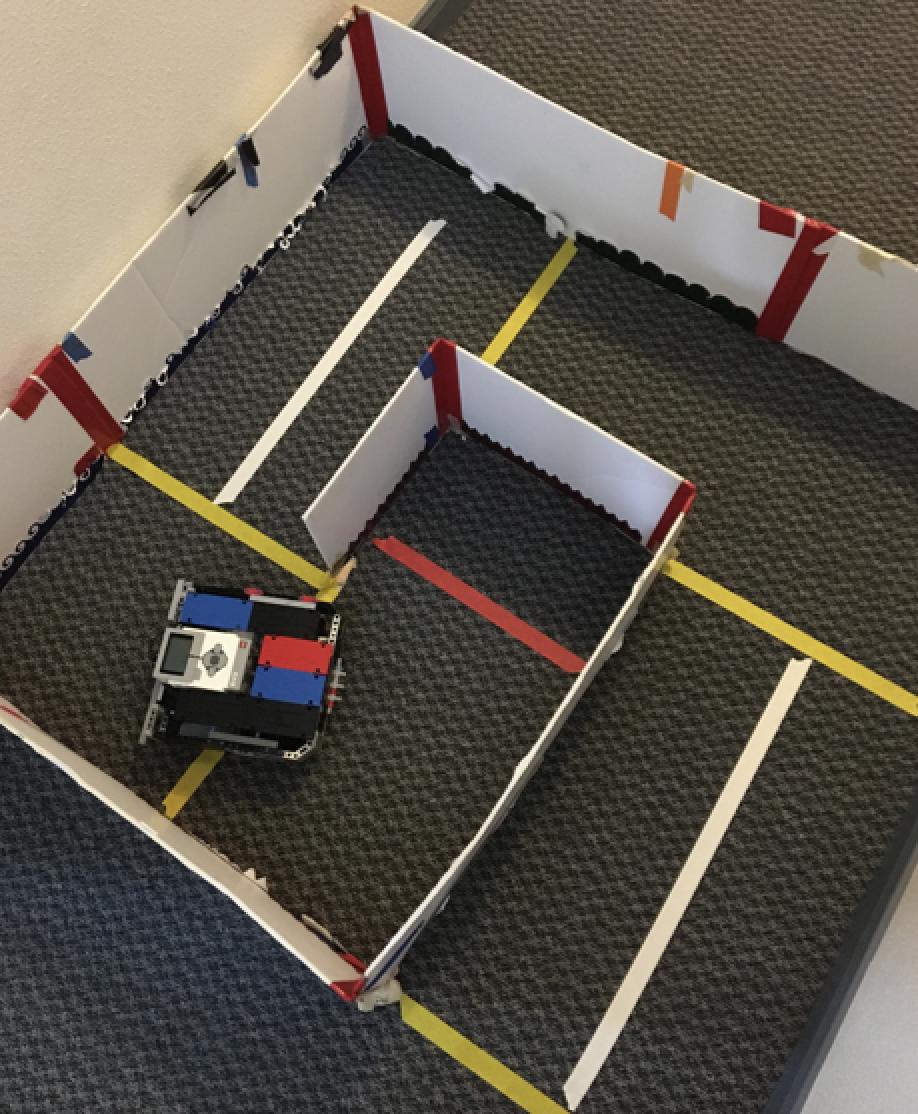
The side walls are cut from foam core and the hinges are duct tape. Using foam core and duct tape allows the maze structure to be foldable and very lightweight, which is great for travel and storage.
You can make it as large or small as you need – just make sure you have enough space for the robot to travel and turn without hitting the walls (~15 inches wide for the LEGO Education Robot Educator Model), and that the walls are high enough (~12 inches) for a ultrasonic sensor to detect it.
To secure the maze walls, I position one side against my room’s wall, and/or use masking tape to secure it to the ground. As you can see from the condition of the maze, it has been used many, many times. The design also allows for bending it into other shapes like a corral. I use this sometimes with the ultrasonic sensor for other lessons.
Version 2 was created using LEGO 2×4 bricks:

We started by planning a basic shape that would allow enough space for the robots to travel and turn. Then the students built it. In this example you can see how we added various colored lines for sensors. Students love creating their own designs, but remember to allow extra time for building.
Programming the maze
Here are some suggestions for programming the maze challenge starting with basic moves, leading into an exploration of sensors.
Move blocks – Students can solve the maze using basic move blocks to go forward and turn using rotations/degrees. Eventually they learn the perfect steering and duration numbers for a 90-degree turn for their robot design. Once they understand that then it’s only a matter of figuring out the different distances between turns.
They will learn about the challenge of consistency and that frustration and failure is part of the process. For example:
- They need to have a consistent starting position (use tape and marks)
- They need to be able to start the program without moving the robot (suggest adding a 0.5 second wait block at the beginning of the program)
- Reduced speed is better
- Some turns are more accurate than others (another lesson)
- The robot will flip or go off course if the wheels get too close to the wall.
So many good lessons!
Sensors: Ultrasonic – They can use the “wait for distance” (using ultrasonic sensor) to drive forward until it comes within a certain distance (inches or centimeters) from the wall, and then turn. They will have to figure out what that distance will give the robot enough space to turn and not run into the wall.
Sensors: Touch – If your walls are stable enough, they could use the touch sensor to navigate through the maze. The challenge will be for them to figure out how to turn if your robot is touching the wall and whether “pushed” or “push/release” mode works best.
Sensors: Light/color facing down – You can add colored or white/black tape to the maze flooring so they can use the “wait for light/color” mode. As you can see in the pictures above, I always place the tape lines at the inside corners of the maze instead of in the middle space. This forces them to have to think about where to turn in relation to where the line is and where they have space to turn. It means that they will have to move forward a bit past the line and then make the turn. You can use more than one color of line so they have to figure out how to add more than one color and, for example, play with the loop interrupt feature to end the program.
Sensors: Light/color facing forward – A few of my students have attempted to use the light/color sensor to sense the walls with much success. Perhaps you could add some color to the walls and create something fun.
Line following – You could add a line that will travel all the way or partially through the maze to teach line following. Again you can challenge them to stop exactly in the middle point using the loop interrupt feature to control how long to follow the line.
Wall following – They can use the ultrasonic sensor to follow along the wall (right or left) to navigate the maze.
Gyro sensor – Have your students experiment with the gyro to figure out how to calculate a perfect 90-degree turn. The gyro sensor has some challenges and they will have to use a “gyro reset” block to zero out the counter. Search for information related to “gyro sensor calibration/reset.”
Mixed solutions – You could challenge them to use 2 or more sensors to complete the maze or let them decide what to use. Get creative!
Teacher tips
Sometimes I have had to let some kids who really struggled – as in the rest of the class had already moved ahead several lessons – not complete the challenge all the way. Sometimes it can be good enough that they understood the methods/concepts, and that if given more time they would have reached the goal anyway. I justified this by the fact that I knew we were going to come back to the maze using sensors later, and I made sure to acknowledge their work in progress.
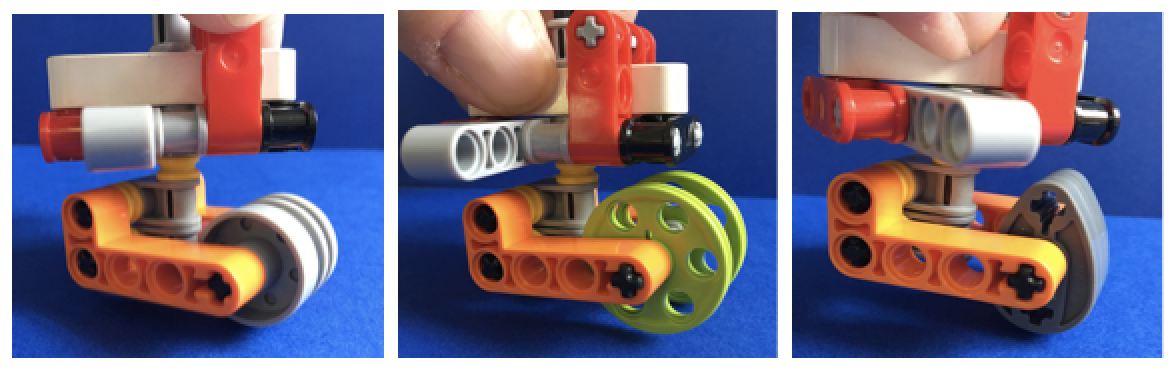
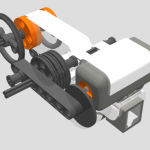
If your students are using the LEGO Education NXT tri-bot design, they will have to deal with the swivel wheel. I have my students make sure to start their robots with the wheel in the farthest back position to keep it from fishtailing. The degree of sway can vary depending on the surface. Sometimes I teach using a low-pile carpet surface and it can have a lot of friction. You can reduce the friction somewhat by removing the tire from the swivel wheel hub.
Alternate swivel designs to play with:
Final thoughts
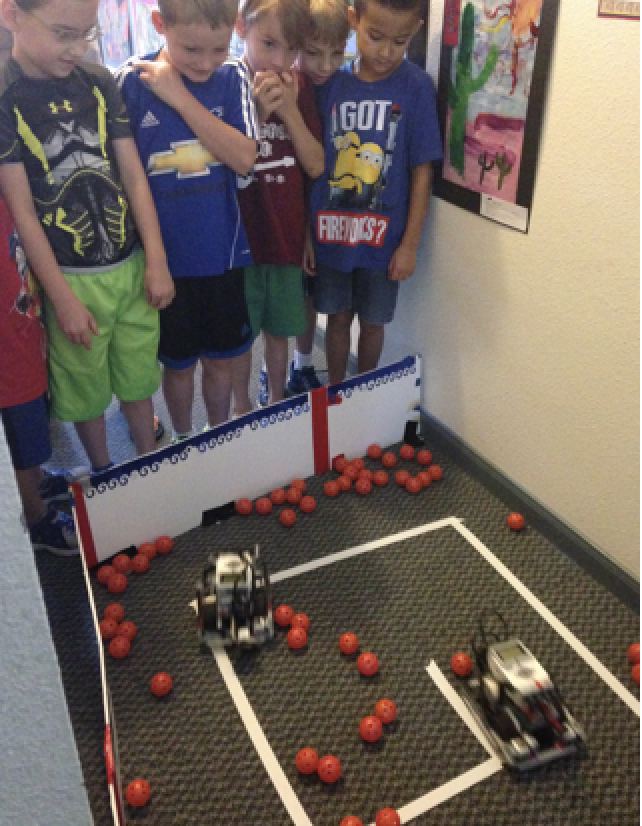
Kids love the maze exercise and are so happy to solve it using sensors after experiencing the tedious task of solving it first with only the move blocks. It is also a great way to challenge students with varied experience and age in the same class.
Latest posts by Katie (see all)
- Cranes - 19 November 2018
- The Maze Challenge: Great for all levels and ages - 2 November 2016
Hi Katie. About how long would it take to get the students through the maze the first time?